Killer deal!
1 Like
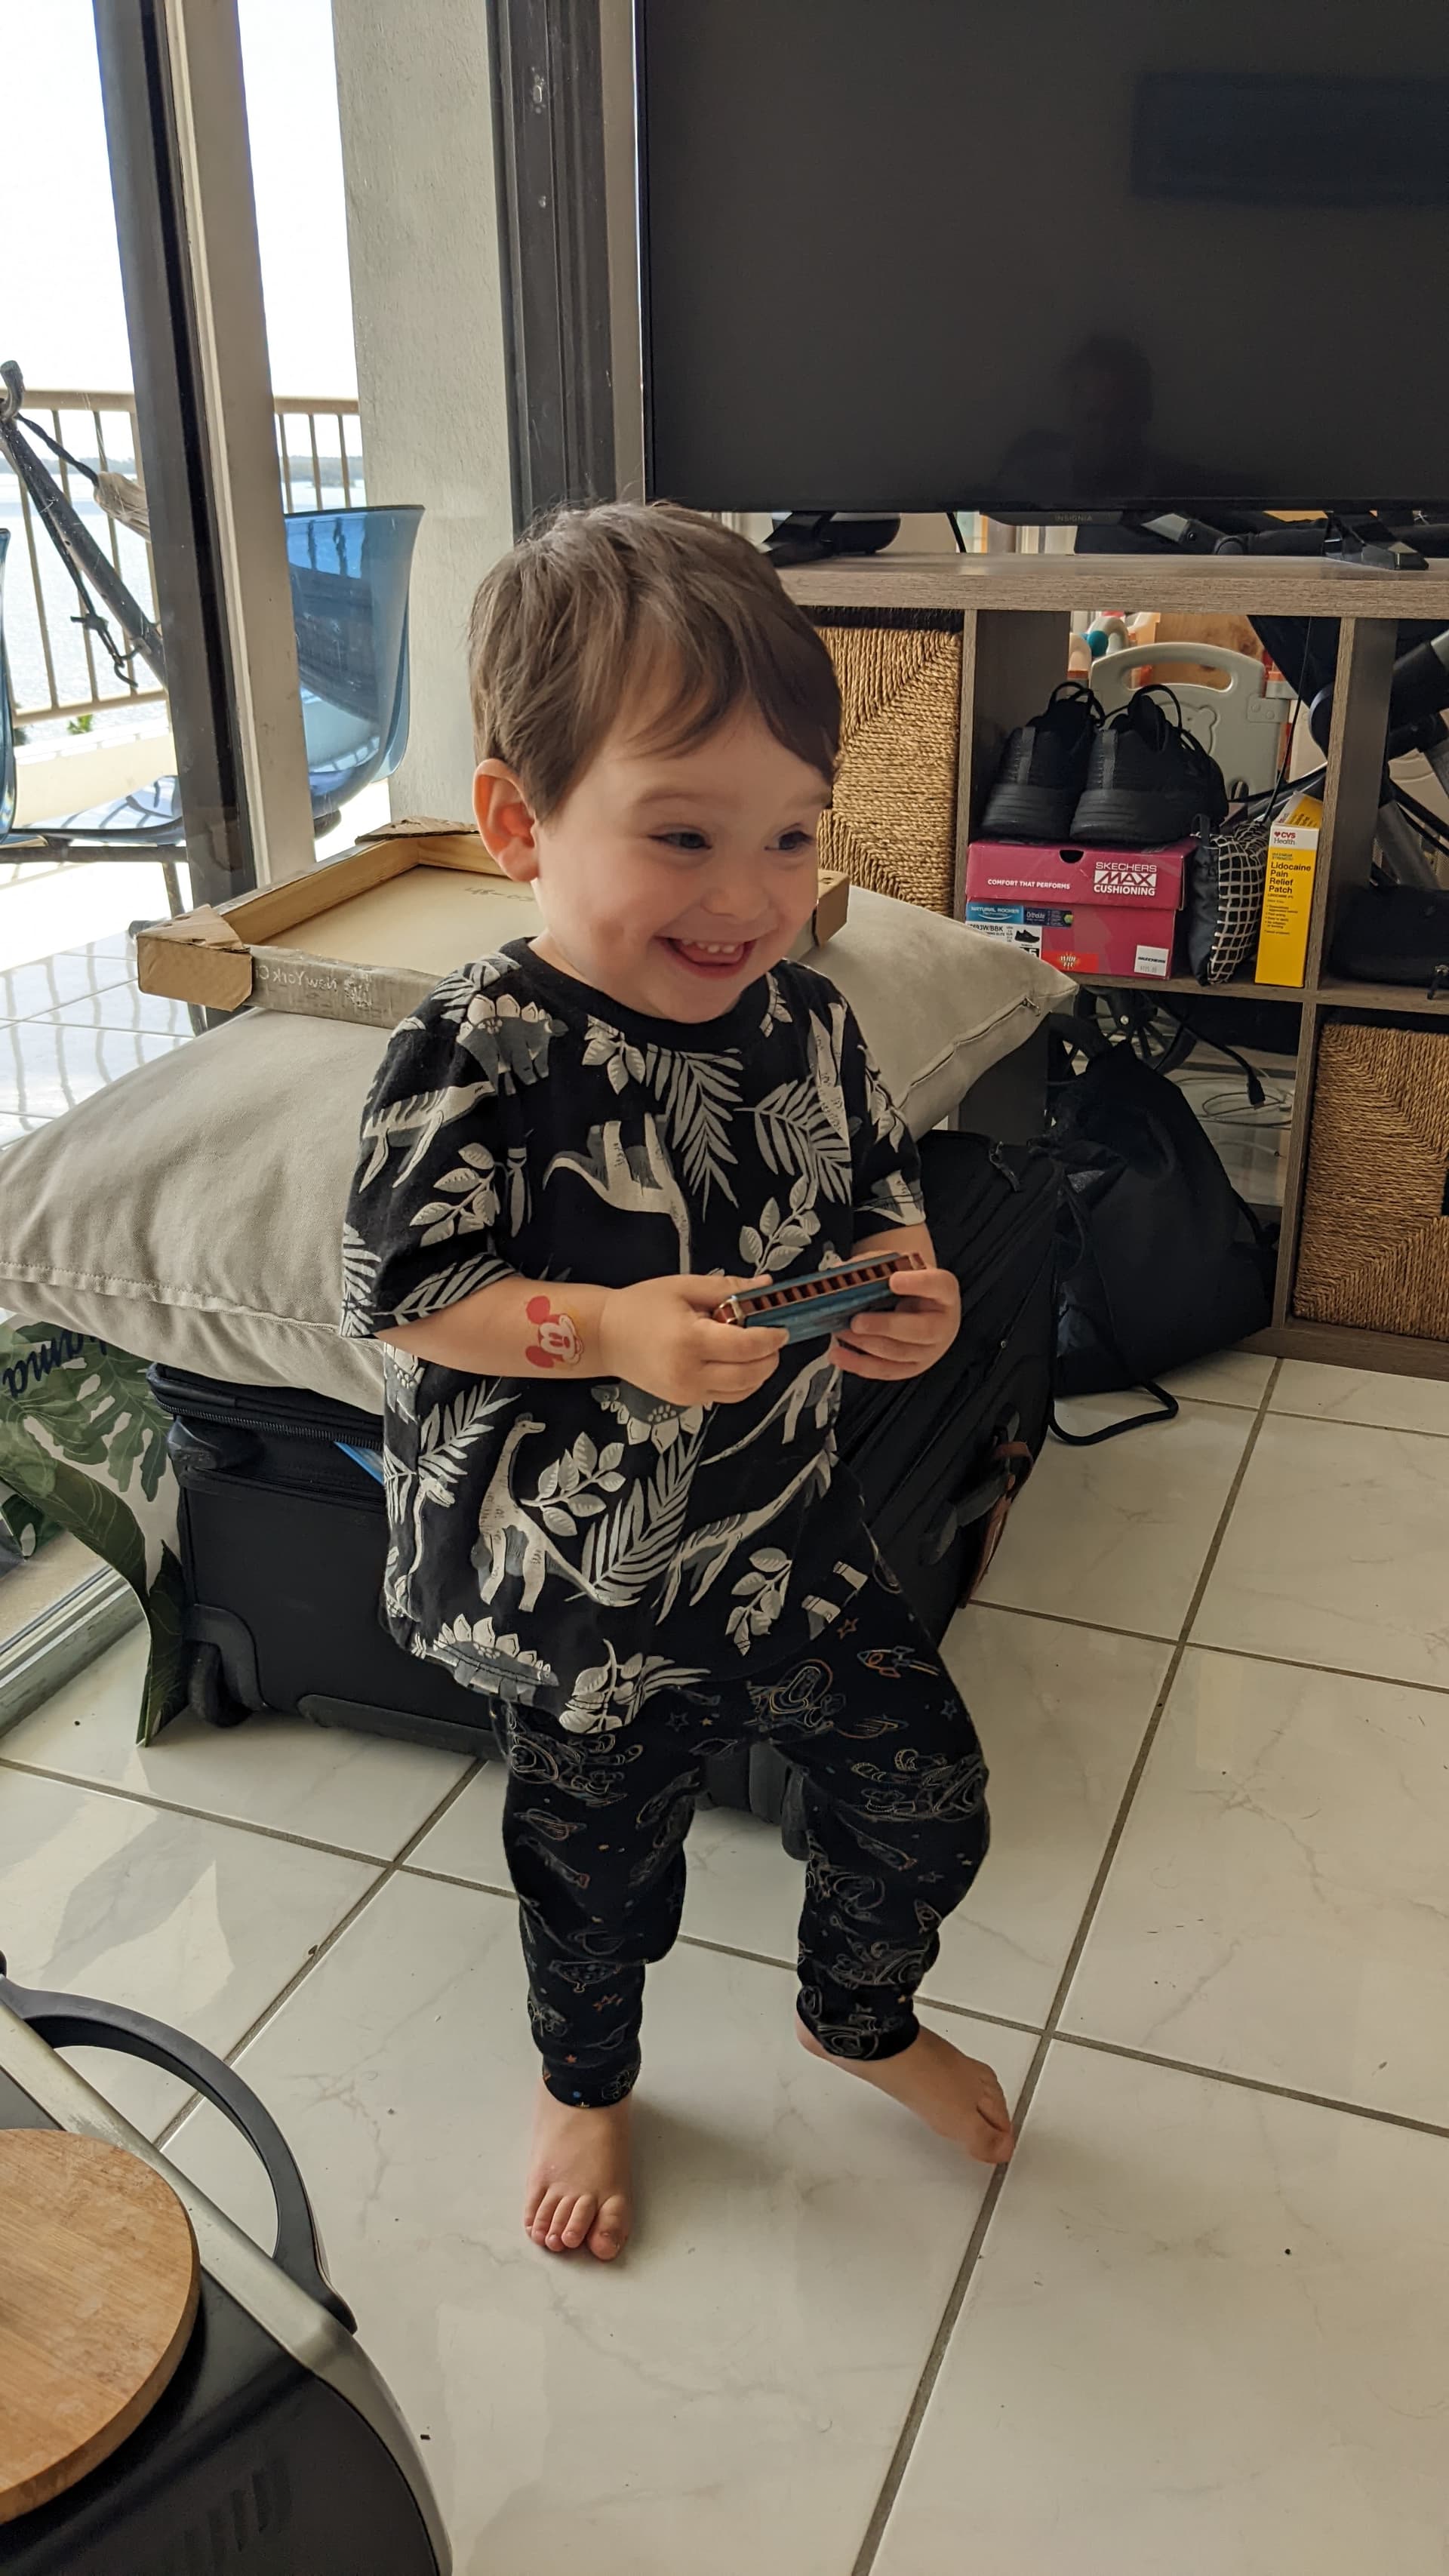
Here’s another picture of my grandson with my original Easttop 008k…
His face says it all and seems to be a perfect review of this weighty contender for a mid-priced harp.
Great review @Luke 

3 Likes
Hello @HarpinBobbyMcB,
Your grandson is a “cool sock”  , as they say in this country.
He must have got it from his grandfather, right? 
Tu nieto es un “calcetín genial” , como dicen en este país.
Debe haberlo heredado de su abuelo, ¿verdad?
3 Likes
Hi Don @DonC,
Finally back home after an additional trip to Epernay, France (the “capitol” city of that part of France where champagne is grown and produced). So now I can try to explain waxing of harmonica reeds!
Since a picture is worth a thousand words, as the saying goes, here is a picture of a Lee Oskar harp of mine where I have waxed all of the reeds. In the picture you only see the draw reeds because I was too lazy to completely disassemble it, but the blow reeds look the same.

I used “orthodontic wax” and applied it to the rivet end of each reed. Since some wax unavoidably also extends onto the free part of the reeds (although you should try to keep that to the absolute minimum, sometimes it is also necessary to eliminate squeals) you will normally need to re-tune each reed after waxing has been finished.
The only real caution that you need to observe after waxing is to not let the harp sit in the sun where it can get hot enough to melt the wax! Also, cleaning is easier with varnished reeds.
I do not varnish reeds because if I accidentally put too much varnish on the reed then it is quite difficult to recover from the mistake.
I hope that this helps you to understand waxing.
Regards,
– Slim
4 Likes
Hello @Slim, couldn’t you also use locking paint for screws here?
What exactly do I mean by “squeaking”? I don’t mean the “wrong” tone as a beginner…  I suspect your answer, but not sure.
Thanks for your idea!
Best  by Astrid
1 Like
Hi Astrid @AstridHandbikebee63,
The problem is not actually the rivet/screw holding the reed. The trouble seems to come from the following problem: the free end of the reed is twisting when it vibrates during a bend. This apparently results in an unwanted (usually quite irritating) squealing when playing the bend. The squeal is not musical in any acceptable way and so must be eliminated, otherwise the bend can no longer be used when playing because your listeners and other musicians playing with you will run away! 
The exact cause of this twisting is most likely caused by tiny imperfections in the thickness of the reed along its length and/or width. These then cause differences in the flexibility/stiffness of the reed.
Locking paint for screws might also work, but I have never used it. The advantage of the waxing method is the relatively easy removal of the wax (if, for example, too much has been used or it has been applied accidentally to the wrong reed). Tip: Since waxing can alter the tonal quality of the sound produced by the waxed reed (often the reed sounds somewhat “muted” compared to its adjacent reeds), I wax all of the reeds so that they all sound as if they come from the same harp.
If anyone is now asking if their harp has a reed or two that squeal when playing a bend, I would suggest that you record the sound when playing the bend and post a link to it here on the forum so that I, or someone else experienced in judging these unwanted sounds, can tell you what the problem might be. There are other strange sounds that can occur when, for example, the reed is off-center and rubs on the edge of the slot. Since it is so difficult to verbally describe these sounds, a recording is the best way to present them for analysis and would help us to suggest solutions for you that could save you from perhaps needlessly buying a new harp. 
Regards,
– Slim
3 Likes
@Slim, you described it excellently for me, since I had assumed it to be similar, but of course the experiences are missing.
I had already suspected the squeaking on the bend, as one of my harps made the noise and none of the others did. For me it sounds so uncomfortable as if the harp is really tormenting itself and is always “calling for help”. I seem to recall noticing it on my hands due to the nature of the reinforcement.
Thank you again!
1 Like
Awesome Slim. I’ve been looking forward to this post for a long time. And so that cured the squealing that happens on Lee Oskars when you try to do overblows? Did it have any negative side-effects (less responsive, more difficult to bend, darker tone, anything like that?)
I hadn’t thought about wax melting in the heat! Good point!
Thanks again,
Luke
2 Likes
Hi Luke @Luke,
Yes, that cured the squealing for my Lee Oskar (and several Suzuki harps) for all bendings (draws, blows & overblows). In fact bending became easier (especially overblows) – but I also did reed flattening and slot embossing (both of which alone can dramatically ease bending problems and improve responsiveness by decreasing “lost” air; or, said another way, by increasing air-flow efficiency).
The LO harps became less “tinny”/metallic sounding, the Suzuki harps did not change their tonality.
The primary drawback is that almost all reeds needed to be tuned again. But I have a small electric drill that I use to do that.
Regards,
– Slim
3 Likes
Have you ever considered using a uv activated glue like bondic?
2 Likes
No, I have not. I suppose it would also work. For me the quickest, easiest and cheapest is what I tend to use.
Regards,
– Slim ![]()
2 Likes
I am new at Harmonica and just got to bending in the @Luke beginner to boss course. Imagine my excitement when I learned how easy and advantageous it was to use Brendan Powers method of reed work on my Lee Oskar New TOOL & METHOD for IMPROVING HARMONICA REED RESPONSE - YouTube
Really made it easier to bend in tune and not have that squeal. I was very careful with application and no tuning adjustment was required. I used a .02mm feeler gauge to run up the reed slot. Stoked
5 Likes
Hi rich3 @rich3
I’ve seen this video before and it looked very interesting. Did you emboss the reeds as well, as Brendan suggests?
How did it improve your Lee Oskar?
Is it worth doing?
3 Likes
@Dai I did not emboss the reeds, and I only did #4 blow & draw. I’m new so taking it slow testing before after. Just the finger nail paint on it’s own made a big difference. I’m not going to emboss at this point but I’m going back and apply the polish up and down.
5 Likes
Hi @rich3
Funny thing – I also did this on several of my Lee Oskar harps! It worked really well and it’s fast compared to other methods of reed work to eliminate the air loss at the base of the reed. I ruined several harps trying to do the bending at the reed base …
Regards,
– Slim ![]()
4 Likes
@Slim you said that use a small electric drill you use for tuning. I noticed Andrew Zajac using something like that in one of his vids. I thought it might be a dremel? Can you please take a photo of yours or share the make/model/bit type or send a link to something comparable?
5 Likes
@Luke I saw that video and even though I have a Dremel, I thought I’d try this Battery powered $9 and I bought this for closing the reed gap at the base nail gel. I also got this feeler gauge Stainless Steel Feeler Gauge and use the . 02mm for cutting the gel, and the 1mm tip I used my Dremel to cut a notch to make a reed wrench.
4 Likes
Hi Luke @Luke
Exactly that shown by @rich3 will work just fine. Mine is larger but was on sale at a local store so I just went with it and it also does the job.
Regards,
– Slim ![]()
3 Likes
Thanks guys!
2 Likes
Take a look at this idea of using gaskets to achieve the same ting as the nail polish.